
Islands Reborn Steel Farm Design: Modular Smelter Setup
An efficient Islands Reborn steel farm design pairs two smelters with four steel mills per layer, using a central beach ball splitter and input output chests to distribute iron evenly while generating roughly 500 steel per hour on each tier.
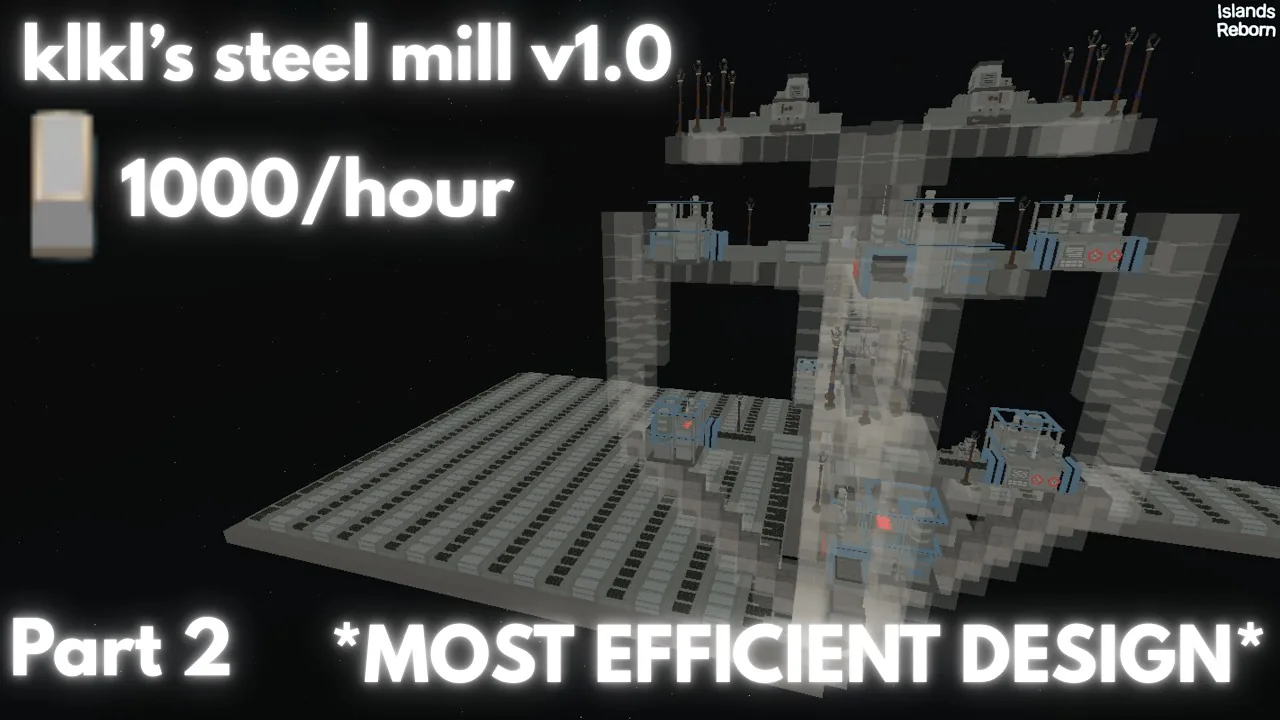
An efficient Islands Reborn steel farm design pairs two smelters with four steel mills per layer, using a central beach ball splitter and input output chests to distribute iron evenly while generating roughly 500 steel per hour on each tier.
The Factory Update in Islands Reborn by !Project Reborn introduces industrial machinery that allows complete automation of refined metals. Because steel mills require both iron and coal to function, manual loading quickly becomes impractical. Building an automated, vertically stackable structure funnels smelted iron into multiple processing units simultaneously, avoiding item despawns and maintaining continuous output.
Core Machinery and Ratio Requirements
Balanced resource delivery prevents machines from stalling. In the tutorial by content creator KLKL, the most effective layout places two smelters directly above four steel mills. Setting fewer steel mills leaves smelters overproducing, while adding too many mills starves machines of raw iron.
Each smelter relies on upstream raw resource generation. For steady operation, place four iron totems and one coal totem feeding conveyors into each smelter. This configuration supports adequate production without flooding the belts. Connecting conveyor lines to feed coal into the mills is required, as each steel ingot requires one coal and one refined iron block to complete a cycle. Players planning their overall island layout can review smelter farm layout options alongside broader ore farming operations.
Step-by-Step Construction of the Base Layer
Assembly begins with the collection funnel at ground level. Line up a central conveyor belt pointing toward your intended storage depot. On either side, place ten stair blocks angled down toward the central belt. Frame the sides with glass blocks or stone bricks to contain items as they drop. Items slide down the angled stairs directly into the conveyor line without bouncing out.
Position four input output chests in the center, facing the outer drop zones. Next, place the four steel mills, leaving a single block gap between the chests and the mills for conveyor placement. This gap allows the input output chests to act as temporary buffers. Buffering raw materials prevents excess iron from idling on active conveyor tracks, which drastically reduces the risk of item despawning.
Item distribution above the mills uses a physics trick. Craft a beach ball at the workbench, place a solid support block above the central drop zone, and set the beach ball on top. Surround the ball with stair blocks on all four sides. When refined iron drops from the upper smelters onto the curved surface of the beach ball, it splits evenly into four streams, feeding directly into the four input output chests below.
Stacking Additional Farm Layers
The primary advantage of this modular layout is vertical scalability. To add a second tier, build support pillars one block higher than the first floor's totems. Directly over the lower setup, duplicate the placement of the four input output chests, conveyor lines, and the beach ball splitter.
Adding steel mill layers directly multiplies hourly output. While a single base layer produces approximately 500 steel ingots per hour, adding a second tier doubles production to roughly 1,000 ingots per hour. Expanding further can increase output toward 2,000 steel per hour, provided totem spawn caps and conveyor clearances are maintained.
Production Tiers and Resource Planning
Choosing the number of layers depends on your available building materials and target output rates.
| Tier Configuration | Production Rate | Farm Requirements |
|---|---|---|
| Single Layer | ~500 steel per hour | 2 smelters, 4 steel mills, 4 input output chests, 1 beach ball, 8 iron totems, 2 coal totems |
| Dual Layer | ~1,000 steel per hour | 4 smelters, 8 steel mills, 8 input output chests, 2 beach balls, 16 iron totems, 4 coal totems |
| Quad Layer | Up to ~2,000 steel per hour | 8 smelters, 16 steel mills, 16 input output chests, 4 beach balls, 32 iron totems, 8 coal totems |
Downstream Processing with the Steel Press
Automated steel feeds directly into advanced manufacturing equipment introduced in the Factory Update. Once steel accumulates in the collection chests, route the conveyor belt directly into a steel press.
Crafting a steel press requires 100 copper plates, 250 copper rods, and 25 steel rods. Once placed at the end of the steel farm line, inserting a mold allows the press to turn basic steel ingots into specialized structural components, including steel plates, steel bolts, and steel rods for advanced recipes.
Next step
Steel Mill Layers
Stack steel mills and smelters efficiently using exact totem ratios and central item splitters to reach high hourly yields.